Installation and configuration of Oracle Identity Management 11.1.1.6

Hi All,

In this post I would like to cover the installation and configuration steps of Oracle Identity Management 11.1.1.6.

Few quick things before we jump into the actual installation:

  • 11.1.1.6 is a full version of Oracle Identity Management containing OID/OVD/DIP/OIF etc.,
  • It is also available as patch 13516867 for previous versions 11.1.1.2, 11.1.1.3 and 11.1.1.5.

Pre-requisites:

Following are the pre-requisites required for Oracle IDM 11.1.1.6 installation:

  • Certified Oracle Database should be installed.
  • Oracle Identity Management Products schema should be created using RCU 11.1.1.6.
  • Oracle WebLogic Server 10.3.6 should be installed.

Installation Steps:

In my case I performed installation in linux 32-bit environment and 11.2.0.1 DB version. I have not installed a separate JDK but instead I am using the JRockit JDK that comes along with WebLogic Server.

  • Start the Database services including listener.
  • Unzip the Oracle Identity Management 11.1.1.6 software.
  • Start the installer by running ./runInstaller from Disk1.
  • Specify the oracle inventory location and OS user group. Click Ok.
  • Click Ok.
  • Execute the script createCentralInventory.sh as root user. This script will create a file /etc/oraInst.loc and creates an inventory folder and changes its permissions with user group specified in above step. When the script is executed, go back to install wizard and click Ok.Click Next.
  • Select Install and Configure. If you select Install Software – Do Not Configure, then you would need to run config.sh or config.bat from $ORACLE_HOME/bin.
  • Verify if the pre-requisites are succeeded.
  • Select the option create new weblogic domain since it is a fresh install. Specify the weblogic admin credentials and Domain Name.
  • Specify the Oracle Middleware, Oracle Home and Oracle Instance.
  • Select the products to be installed. I have selected all products in my case.
  • Specify the staticports.ini if it exists in the environment. I have auto selected the ports in my case.
  • Specify the OVD listeners to be created and OVD Name Space. Also specify the OVD admin credentials.
  • Mention the schema details as DATABASE_HOST:PORT:SERVICE_NAME. Also specify the ODS schema password, this is required for OVD/OID.
  • Mention the OID Name space and admin credentials.
  • Mention the PKCS password. Also specify the OIF Server ID.
  • Click Next.
  • Click Install.
  • Execute the oracleRoot.sh located under $ORACLE_HOME.
  • Goto install wizard as in previous step and click OK.Once installation is succesful, click Next.
  • If you wish to save the products installed and its corresponding ports, select Save option and specify a rsp file name. Click Finish.

This completes the installation and configuration part and by now the installer had already started the opmn and WebLogic processes. Open the response file to know the ports of all products and access their consoles appropriately.


About the Author Mahendra

I am engulfed in Oracle Identity & Access Management domain. I have expertise on providing the optimized solutions for user provisioning, web access management, Single Sign-On and federation capabilities etc., I am also well versed with complex integrations within Identity Management and other product domains. I have expertise on building demos and implementation experience on products Oracle Access Manager, Oracle Adaptive Access Manager, Oracle Entitlement Server, Oracle Virtual Directory, Oracle Internet Directory etc., Look @ my blog: http://talkidentity.blogspot.com

Leave a Comment:

1 comments
» Understanding installation starting point for Oracle Identity Management 11.1.1.6 Online Apps DBA: One Stop Shop for Apps DBA’s says July 11, 2012

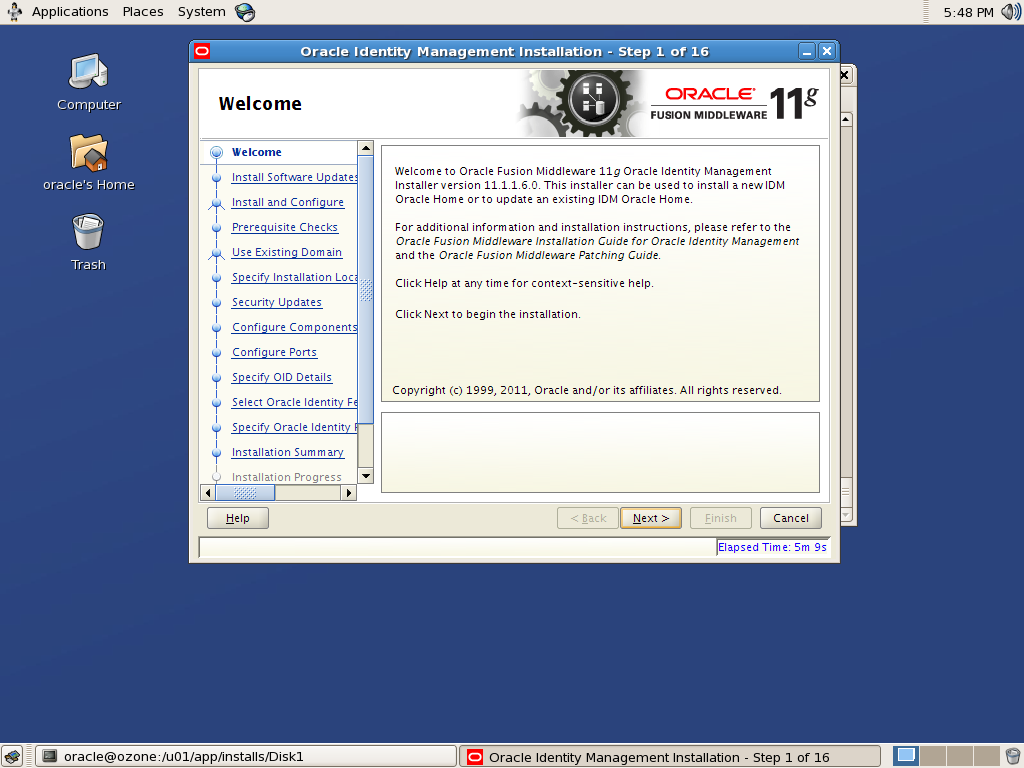
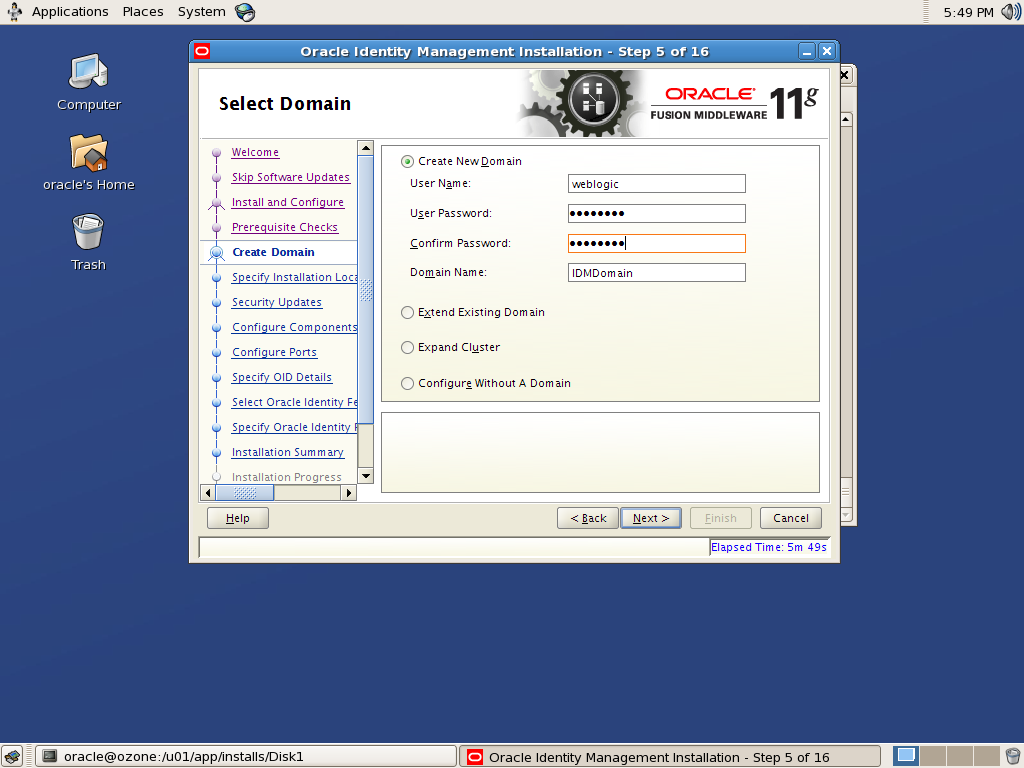
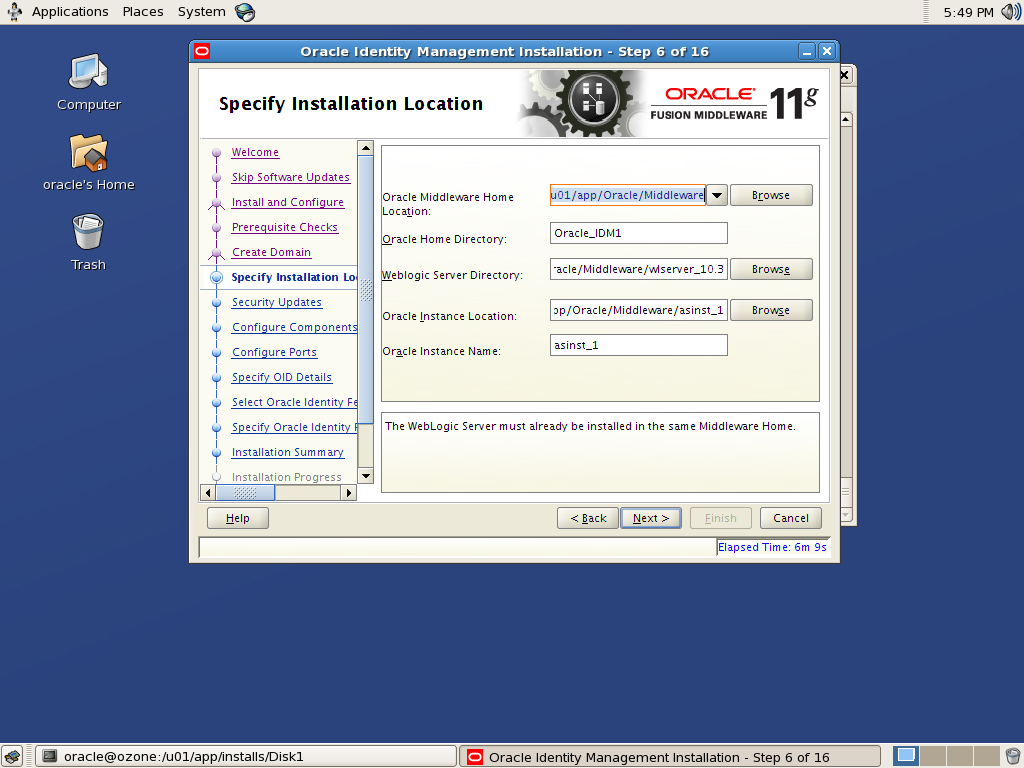
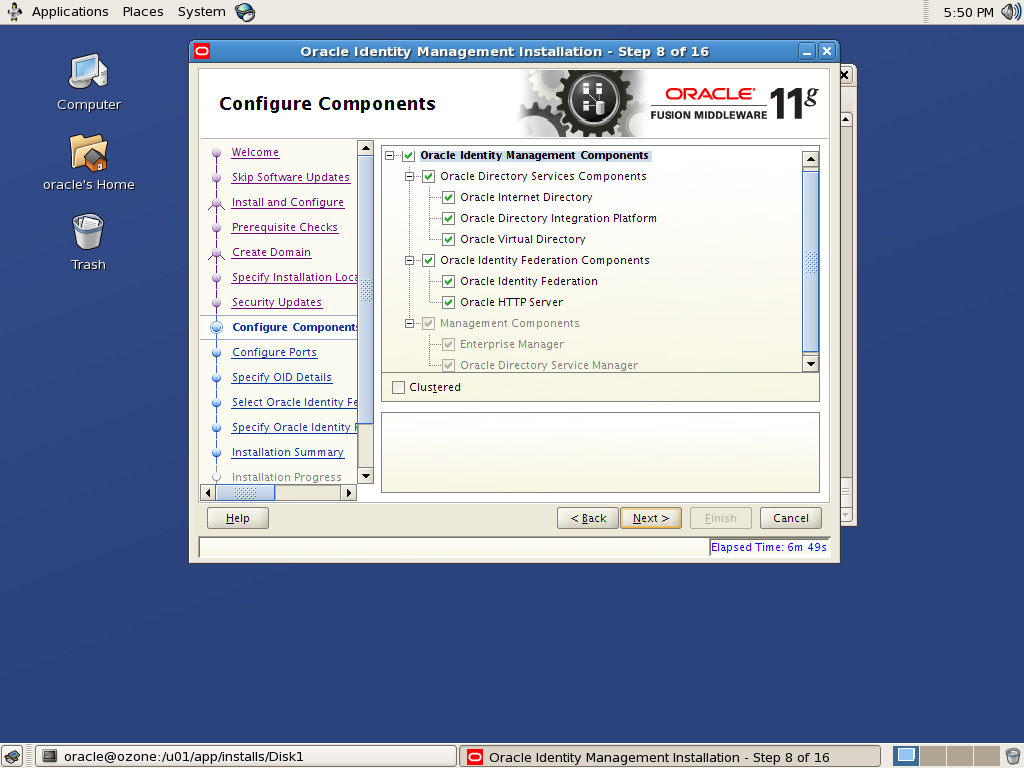
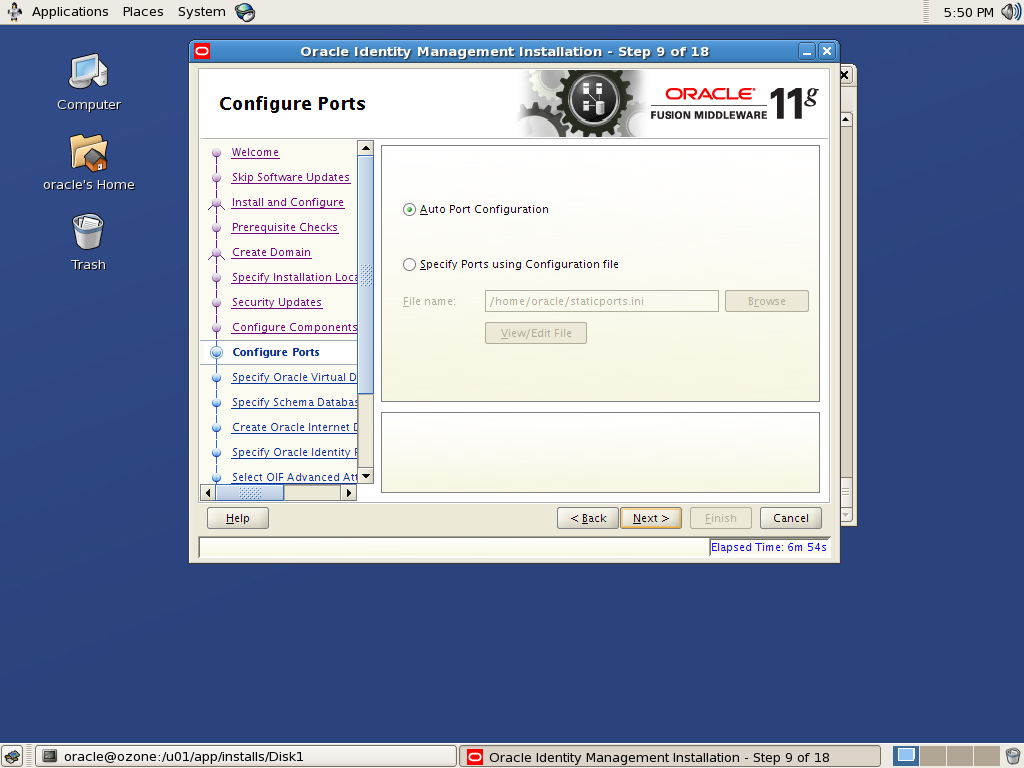
[…] To install Fusion middleware products except for Oracle Portal, Forms, Reports and Discoverer then refer the below screenshot for installation flow and follow my previous post. […]

Reply
Add Your Reply

Not found