
This is part VI of step by step installation of Oracle Identity Management (OAM, OIM, OAAM, OAPM & OIN) which covers configuring Oracle Identity Manager 11.1.1.3.0 .
Oracle Identity Manager (OIM) is User Provisioning and User Management component of Oracle Identity Management 11g.
- For Part I Download Software and create Schema click here
- For Part II Install WebLogic Server 10.3.3 click here
- For Part III Install SOA Server and Upgrade to 11.1.1.3 click here
- For Part IV Install IDAM 11.1.1.3 click he
- For Part V Create Domain for OIM, OAM, OAAM, OAPM & OIN here
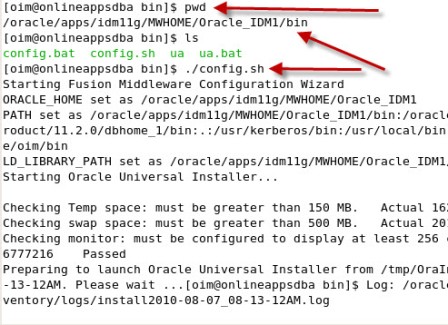
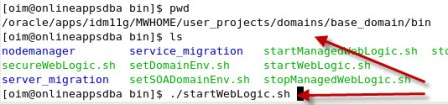
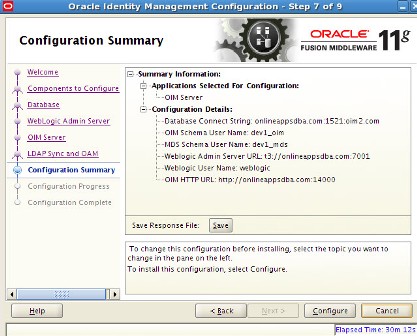
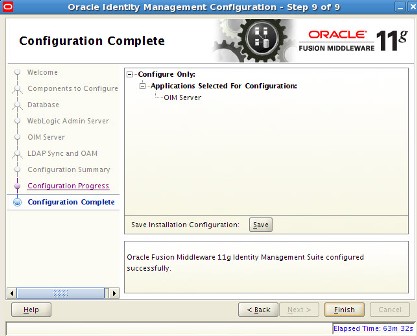
To initiate OIM Server configuration execute config.sh under ORACLE_HOME/bin (To create/extend Domain run config.sh under $ORACLE_HOME/common/bin)
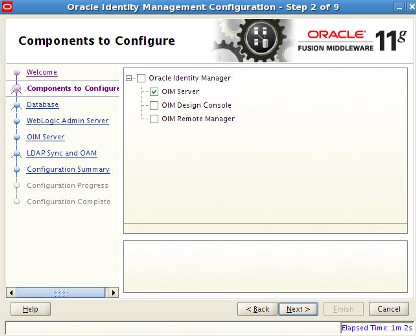
- Select OIM Server (OIM Design Console is design time tool used by developers and available only on Windows).
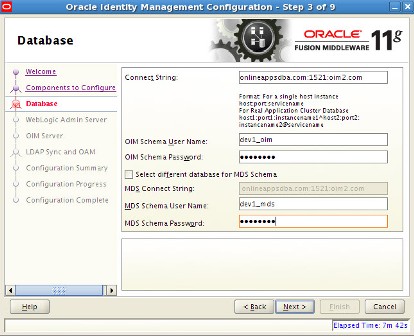
- Enter OIM/MDS schema details which We created in Part I of this series here
- Enter WebLogic Admin Server URL (Admin Server should be running at this stage). Default Port for WebLogic Admin Server URL is 7001
- T3 is Oracle’s proprietary protocol used by WebLogic to transport data between WebLogic Server and other Java Programs
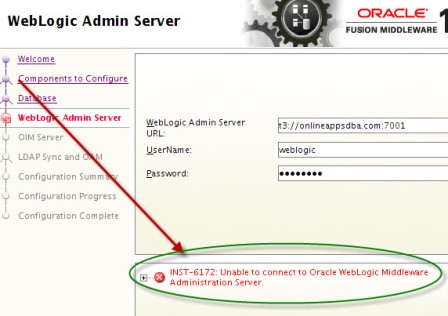
- If WebLogic Admin Server is not running then start Admin Server
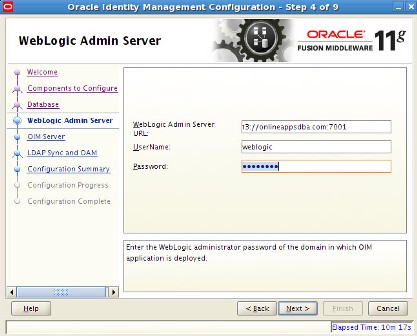
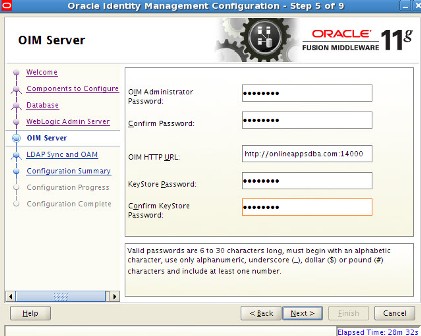
- Enter OIM Administrator Password (xelsysadm is OIM Administrator user)
- Enter OIM HTTP URL (Default OIM Managed Server Port number is 14000)
- You can configure standalone OHS (Oracle HTTP Server) in-front of WebLogic Server using steps mentioned here
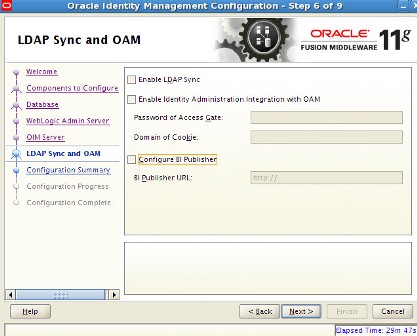
- For time being don’t select anything here (We will enable OIM for LDAP Sync and integrate with OAM later)
- Integration of OIM with OAM provides Single Sign-On (SSO) and Access Management features provided by Oracle Access Manager(OAM)
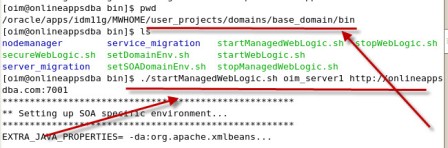
- Restart WebLogic Admin Server (stopWebLogic.sh & startWeblogic.sh)
- Start OIM Managed Server using startManagedWebLogic.sh where oim_server1 is name of OIM Managed Server
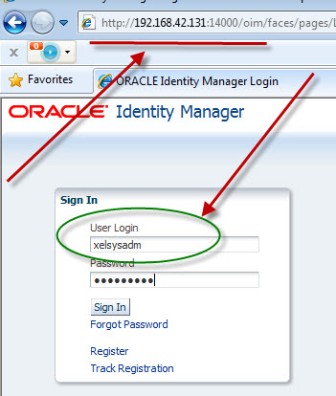
- Access OIM Admin Server using http://servername:OIM_Port/oim (default OIM Managed Server Port is 14000)
- OIM Admin User-name is xelsysadm and password you entered during OIM configuration screen above
.
Part VII : Configure Oracle Access Manager (OAM) : #OracleIdM 11g : Step by Step Installation of OAM, OIM, OAAM, OAPM, OIN coming next !!
Comments are closed.