Part IV – Install IDAM 11.1.1.3 : #OracleIdM 11g : Step by Step Installation of OAM, OIM, OAAM, OAPM, OIN
This is part IV of step by step installation of Oracle Identity Management (OAM, OIM, OAAM, OAPM & OIN) which covers Identity and Access Management 11.1.1.3.0 .
- For Part I Download Software and create Schema click here
- For Part II Install WebLogic Server 10.3.3 click here
- For Part III Install SOA Server and Upgrade to 11.1.1.3 click here
IDAM – IDentity & Access Management
.
Key points for OIM 11.1.1.3 installation
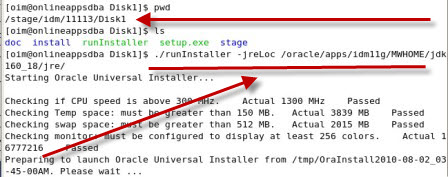
- IDAM 11.1.1.3 is installed using runInstaller (on Linux/Unix) from IDAM software and would need JRE (Java Runtime Environment) Location which you can enter using option -jreLoc as shown in picture 1 below
- For JRE location on 32 bit machines use JDK or JRockit(under MW_HOME) and for 64 bit Machine use pre-install 64 bit JDK location (Sun or JRockit)
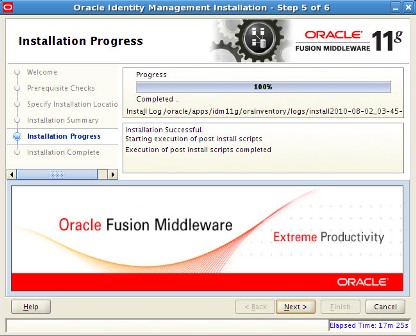
- For any installation issues check logs at oraInventory/logs where location of oraInventory directory mentioned in oraInst.loc. For location of oraInst.loc click here, more information on oraInventory in Oracle here
.
.
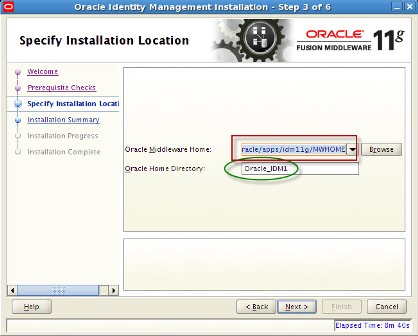
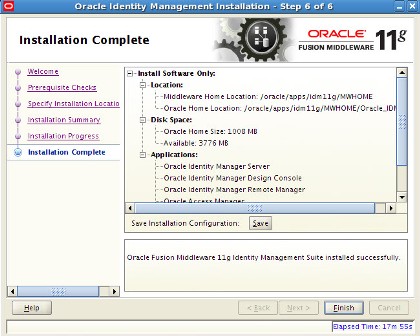
- When prompted for Middleware Home, Enter directory which you created during WebLogic Installation in Part II of this series here
.
.
After IDAM installation you should see three ORACLE_HOMEs under MW_HOME
- oracle_common – This Oracle_Home contains Java Required Files ()
- Oracle_SOA1 – This Oracle_Home contains SOA related Files
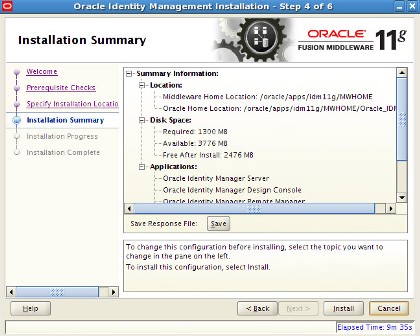
- Oracle_IDM1– This Oracle_Home contains IDAM (oam, oim, oaam, oapm & oin) related Files
.
.
- Under IDAM Oracle_Home you will see binaries/software for IDAM components like OAAM, OIN
.
.
OracleIdM 11g R1 PS2 : Step by Installation of OAM, OIM, OAAM, OAPM, OIN (11.1.1.3.0) – Part V : Configure WebLogic Domain for OAM, OIM, OAAM & OIN

