Oracle RAC Part IV : Install Oracle Clusterware and Cluster Database
This is fourth and last post for installing Oracle RAC Database on single machine using VMWare virtual machines.
In this part we will install oracle clusterware and rac database
Copy Oracle RAC and Oracle Database Software to RAC1
Create a directory software in $HOME and copy clusterware and database zip files downloaded
unzip 10201_clusterware_linux32.zip
unzip 10201_database_linux32.zip
This will create directory clusterware (for clusterware software) and database (for database software)
Verify all prereq. for clusterware installation
————————————————————
cd /home/oracle/softwar/clusterware/cluvfy
Make sure
–Second Machine/Node RAC2 is up
— You have configured and changes hostname and network IP of RAC2
— RAC1 can ping RAC2 and vice versa
— User equivalency is set for user oracle on RAC1 and RAC2
— You can connect to rac2 from rac1 as user oracle without prompting password and vice versa
./runcluvfy.sh stage –pre crsinst –n rac1,rac2
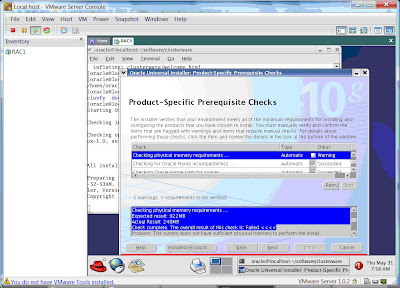
Make sure Node reachable and User Equivalency is met, rest other checks (related memory) can be ignored
Once RAC1 and RAC2 can ping each other and oracle user can connect to other machine’s oracle user without prompting password then start clusterware installation from user oracle.
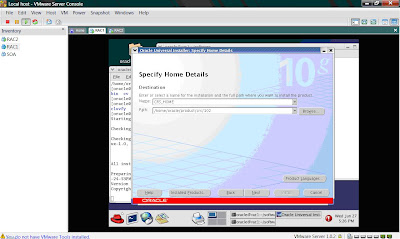
Change directory to location where you have unzipped clusterware software and start clusterware installation by running runInstaller
./runInstaller
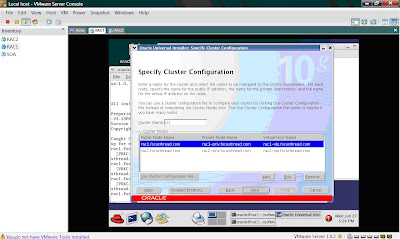
Add second node rac2 by clicking on Add link
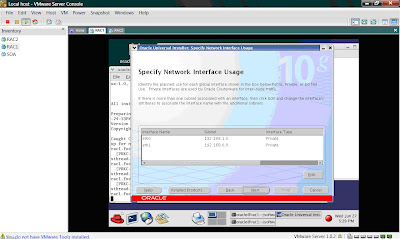
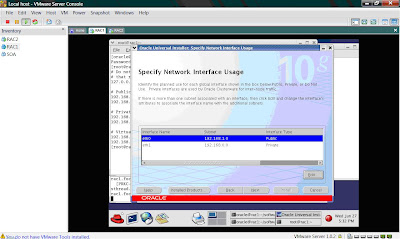
Change subnet as per your network configuration as you did while configuring network card.
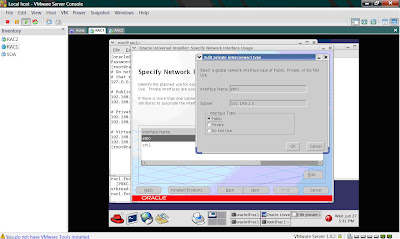 Make one public and another private (Private interconnect for clusterware)
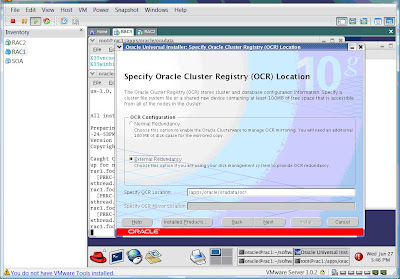
Specify ocr location like /apps/oracle/oradata/ocr (or as per your naming convention)
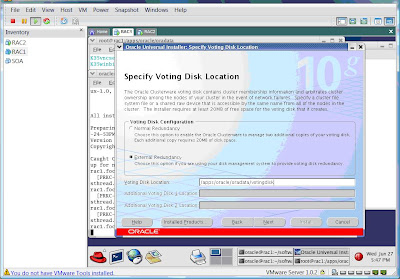
Specify voting disk location like /apps/oracle/oradata/votingdisk (or as per your naming convention)
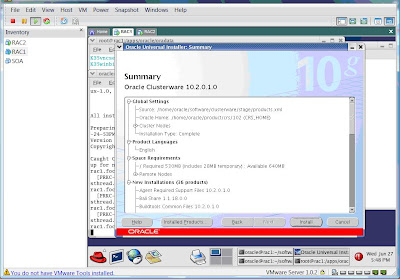
Click on Install to install clusterware.
After clusterware installation, Install Database
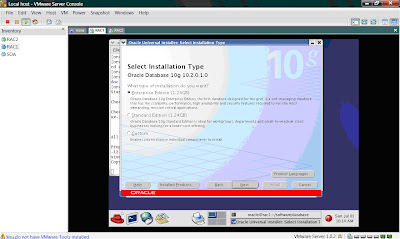
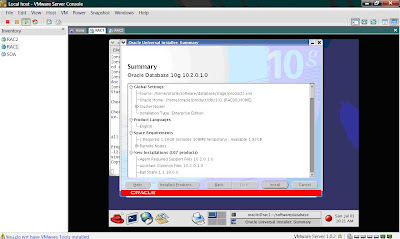
Install RAC Database
Go to location where you unzipped database disks
./runInstaller –ignoreSysPrereqs (this is required as our memory is less (below 900MB) required, if your machine spec is higher you can ignore using ignoreSysPrereqs)
Specify database oracle_home (make this different from clusterware oracle_home installed in previous step)
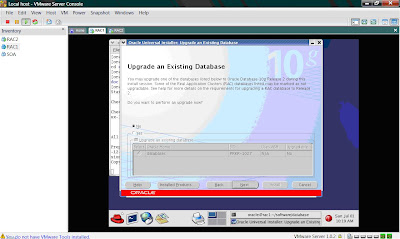
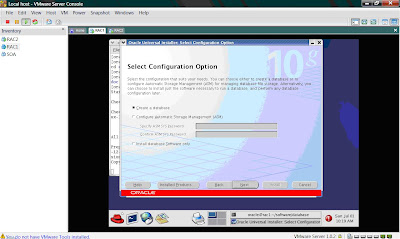
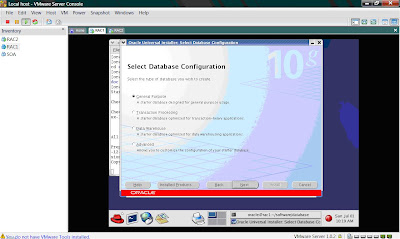
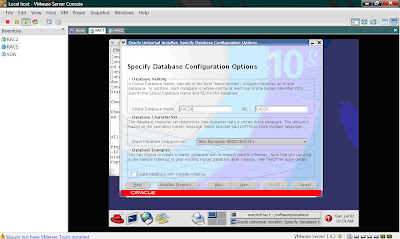 Enter database name of your choice
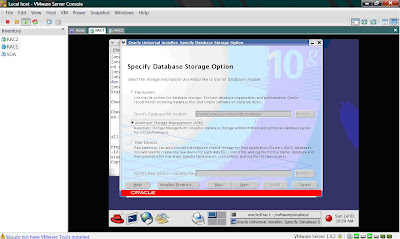
Select ASM
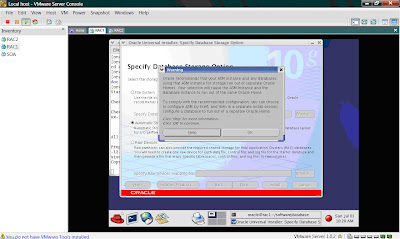 Ignore any warnings and click on OK
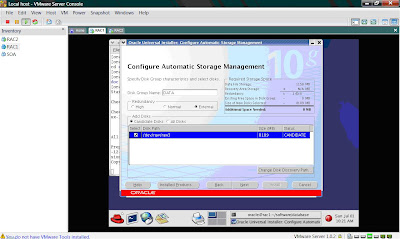 Define location of ASM as /dev/raw/raw3 and make redundancy as external
Click on Install
Why number of voting disks should always be odd number only ?
How to troubleshoot RAC database and clusterware issue ?
.. Coming in future posts

