
.
This post is part II of OAM (Oracle Accesss Manager) Installation, for part I of OAM which covers installation overview and software download location click here
.
OAM Identity System Installation Key Points
1. OAM Identity Server is first component to install (others are WebPass, Policy Manager, Access Server and WebGate)
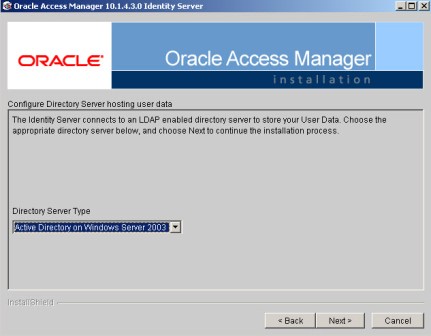
2. You would need directory/LDAP server for Identity Server to store Policy/Configuration and User data . I am using Microsoft Active Directory Server 2003 as LDAP/Directory store in this example. Other certified directory servers are OID, OVD, iPlanet, IBM Tivoli …For list of certified directory/LDAP server with OAM click here)
3. Communication protocol between Identity Server with AD (Active Directory) could be LDAP, LDAPS or ADSI (Active Directory Services Interface)
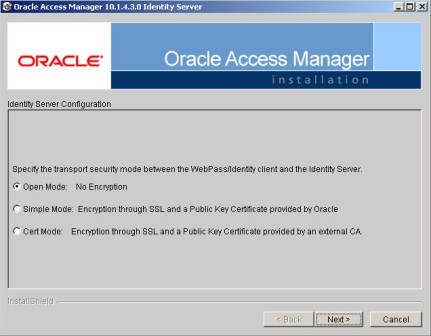
4. Transport Mode between Identity Server and Directory/LDAP could be
a) Open – unsecured
b) Simple – Encrypted but using dummy certificates issues by Oracle
c) Cert Mode – Encrypted using certificates issues by Proper Certifying Authority
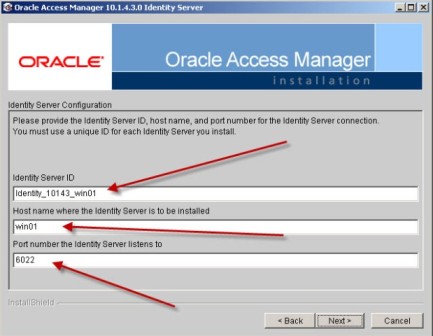
5. Default Identity Server port is 6022 (you could use different port or change this port later)
6. If you are planning to use dynamic auxiliary object class with Active Directory 2003 then change domain and forest to Functional Level 2003, more here
.
Installation steps
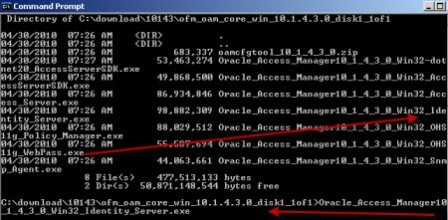
1. Start Identity Server installer using executable depending on your Operating System
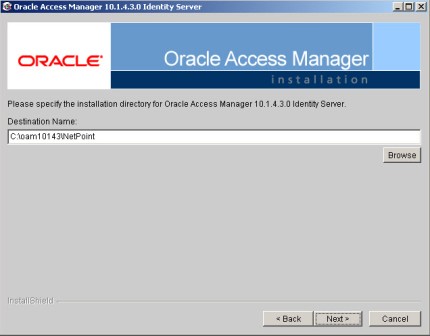
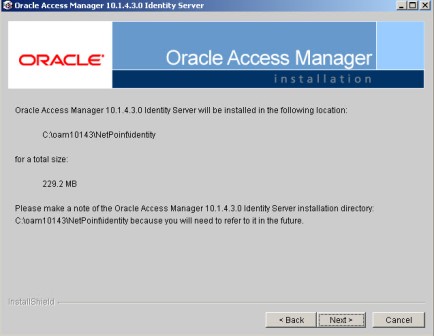
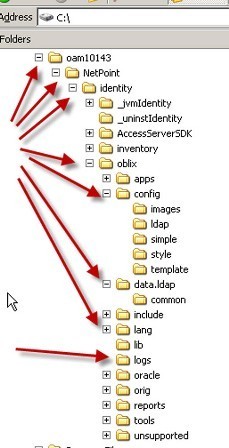
2. Enter Installation Directory for OAM’s Identity Server software
3. Enter Transport Security Mode (communication between Identity Server and Directory Server) – Open, Simple or Cert
4. Enter Identity Server ID and Port Number (These details will be used during WebPass installation)
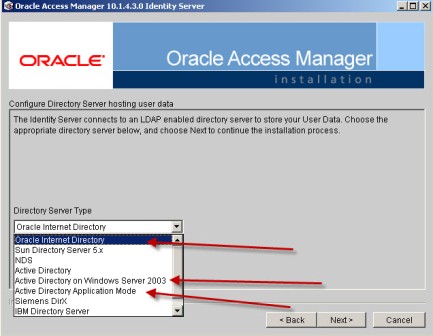
5. Select your Directory Server Type (AD, OID, OVD, iPlanet ..)
6. Enter details of Directory Server
.
.
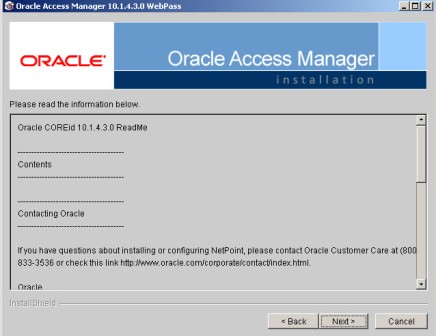
Installation Screenshots
.
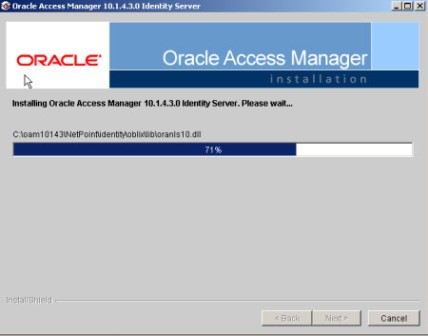

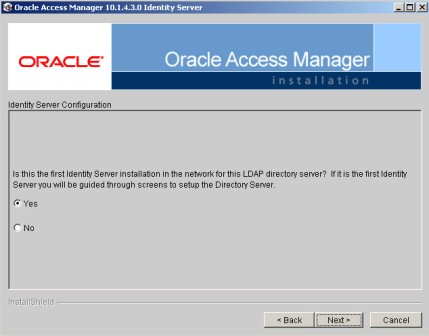
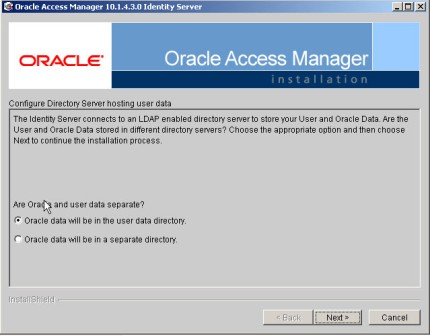
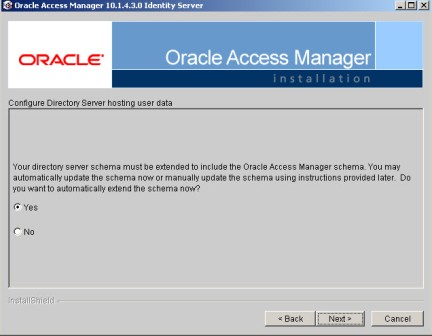
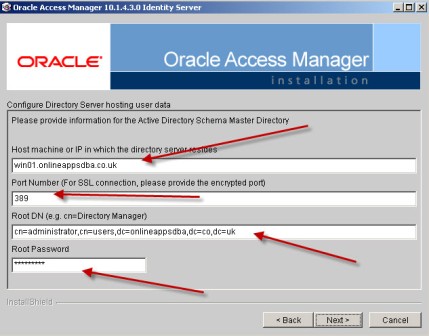
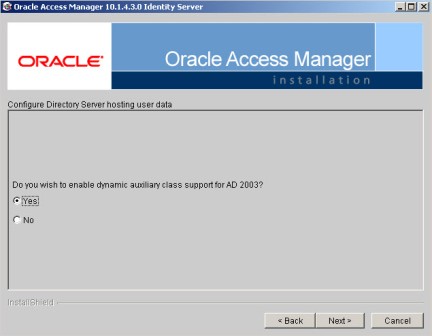
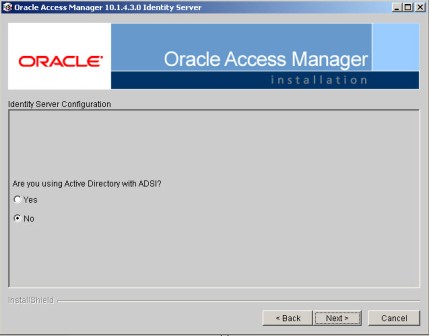
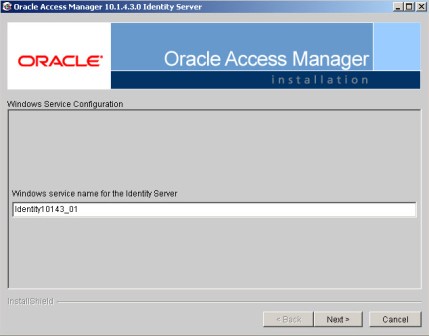
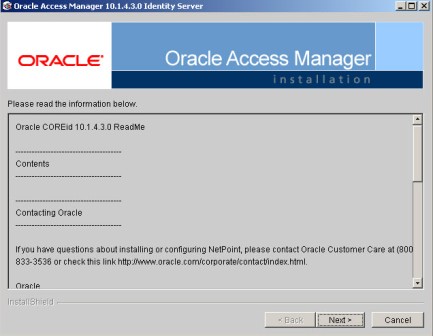
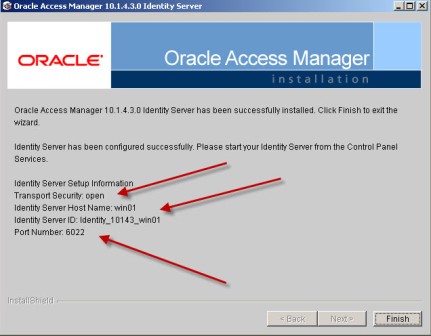
.
.
Reference


