Part VII : Install & Configure OIM Design Console : #OracleIdM 11g : Step by Step Installation of OAM, OIM, OAAM, OAPM, OIN
This is part VII of step by step installation of Oracle Identity Management (OAM, OIM, OAAM, OAPM & OIN) which covers configuring OIM Design Console 11.1.1.3.0 .
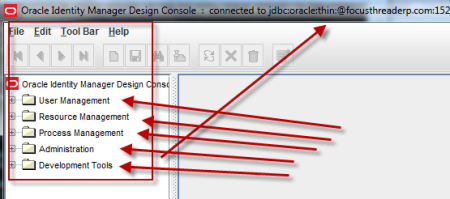
OIM Design Console : is thick client used by developers and system administrators (OIM Design Console is supported only on Windows Machine) and used to configure system settings.
- For Part I Download Software and create Schema click here
- For Part II Install WebLogic Server 10.3.3 click here
- For Part III Install SOA Server and Upgrade to 11.1.1.3 click here
- For Part IV Install IDAM 11.1.1.3 click he
- For Part V Create Domain for OIM, OAM, OAAM, OAPM & OIN here
- For Part VI Configure Identity Manager click here
.
Things good to know about OIM Design Consle
- OIM Design Console is supported on Windows Only
- You can install OIM server on one machine and OIM design console on different machine
- If you are installing/configuring just OIM Design Console then SOA or WebLogic server is NOT require on machine on which you are installing OIM Design Console (all you need is JRE and Identity and Access Management software)
- If you install Oracle IDAM 11.1.1.3 without weblogic server, you will get warning like below (click Yes when prompted)
- You must create wlfullclient.jar on OIM server and copy it to $ORACLE_HOME\designconsole\ext directory on OIM Design Console machine
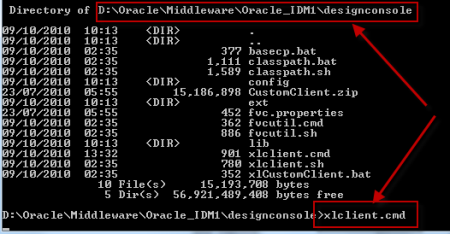
- Script to start OIM Design Console is xlclient.cmd in $ORACLE_HOME\designconsole
- User name to login to OIM design console is xelsysadm and password is one you entered during OIM Server confguration (This password could be different from WebLogic user password)
.
OIM Design Console Steps
1. Make sure you have JRE (1.6 or higher) installed on machine on which you are planning to install/configure OIM design console (If you don’t have JRE 1.6 you can download standalone JRE from Sun/Oracle website orinstall WebLogic and use JRE shipped with WebLogic)
2.Install Oracle Identity and Access Management 11.1.1.3 Software (This will create filesystem for IDAM and ORACLE_HOME)
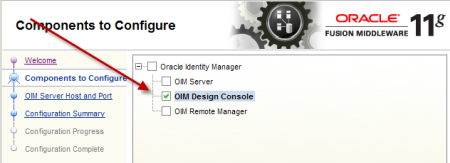
3.Start $ORACLE_HOME/bin/config.bat , select OIM design Console
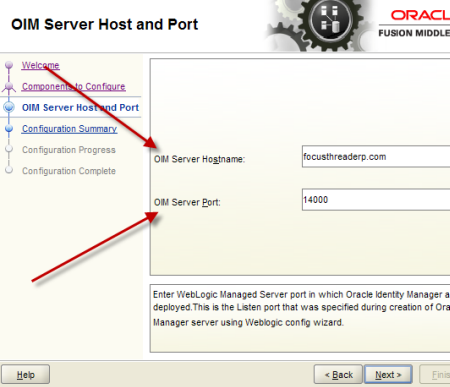
4.Enter OIM server hostname and port (default OIM server portis 14000. OIM server and WebLogic Admin Server should be running at this stage)
5. Create wlfullclient.jar on OIM server (Do this on OIM Server and NOT on OIM design console)
– cd $MW_HOME\wlserver_10.3\server\lib
– java -jar $MW_HOME/modules/com.bea.core.jarbuilder_1.5.0.0.jar (ensure that you have java 1.6 in classpath)
6.Copy wlfullclient.jar from server to $ORACLE_HOME\designconsole\ext directory on Design Console Machine
7.Start OIM design console from $ORACLE_HOME\designconsole\xlclient.cmd
8.Login to Design Console using xelsysadm user
.
OIM Design Console Configuration Screens
References


